
Many of our kiddos struggle with motor skills, making playing with toys a challenge.
Enter technology. Tons of toys can be adapted to work off a switch system, allowing kids to activate them using a large button or other device that is easier for them to set off than what is built into the toy.
But, as with most things special needs, the cost for those toys is astronomical, especially when compared to the same toy not adapted.
One of our awesome HIE dads, Andrew Weiher, put together a little tutorial on how you can adapt your toys with a switch! We cannot thank him enough for this information that will surely come in use for lots of families. He and his wife also started their own company, Contraption Adaption, to help other families.
Step 1: Locate and remove the screws to open the toy.

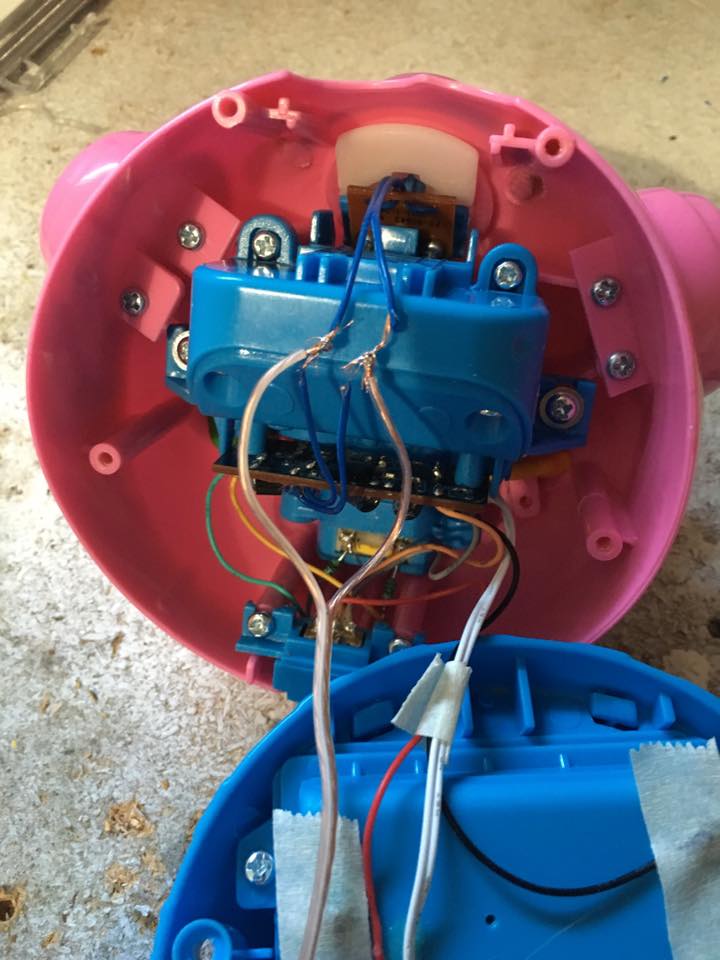
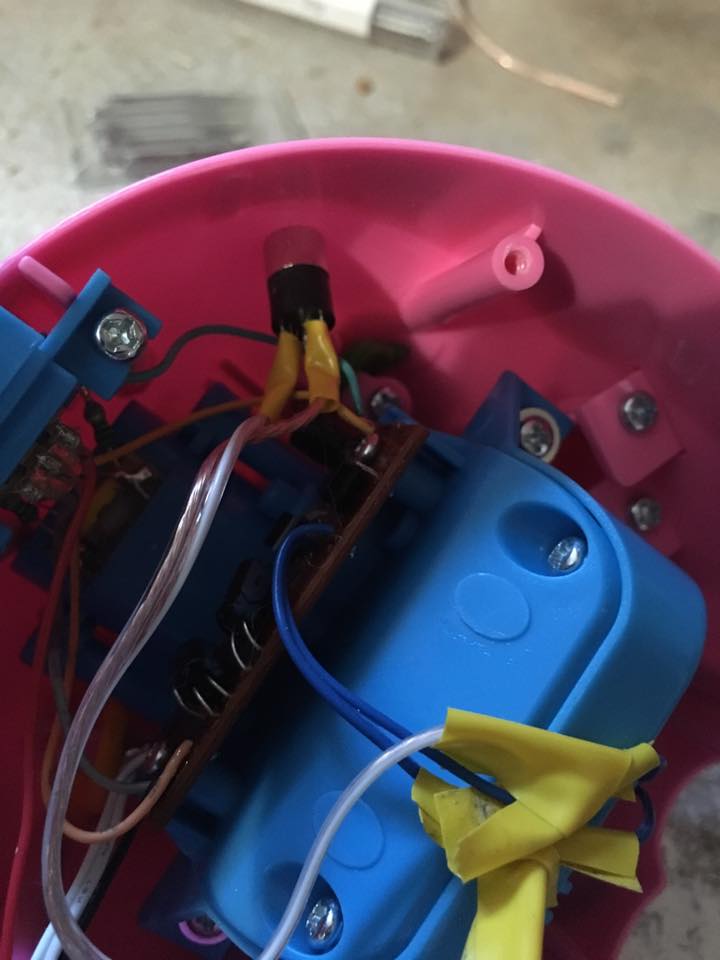
Step 2: Locate the wires leading to the button on the inside of the toy.
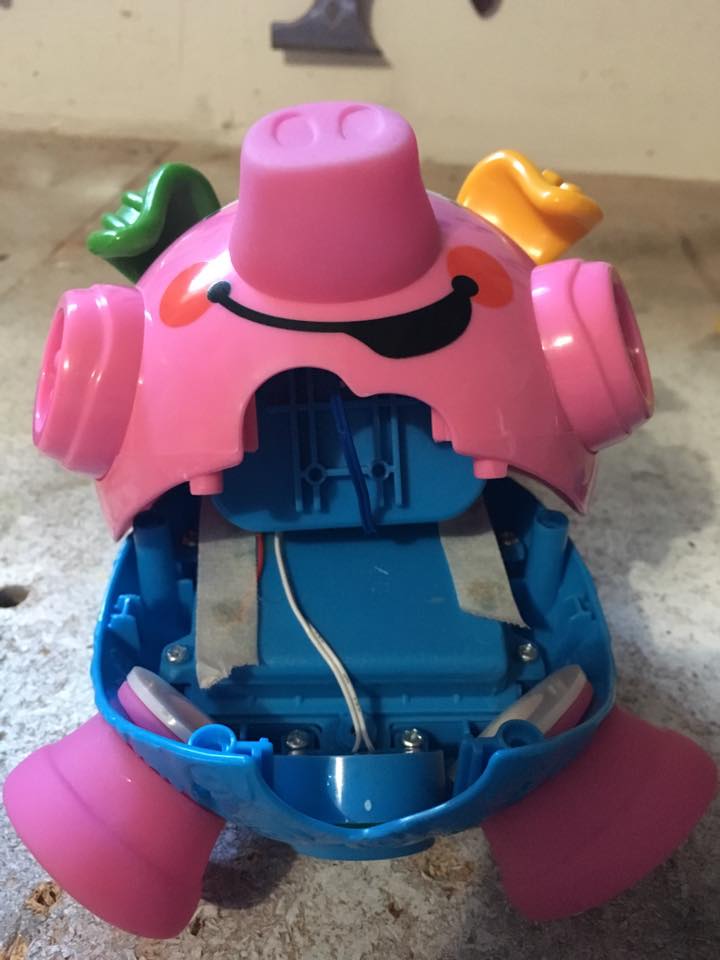
Step 3: Pull the two wires apart so you can work with each one individually.
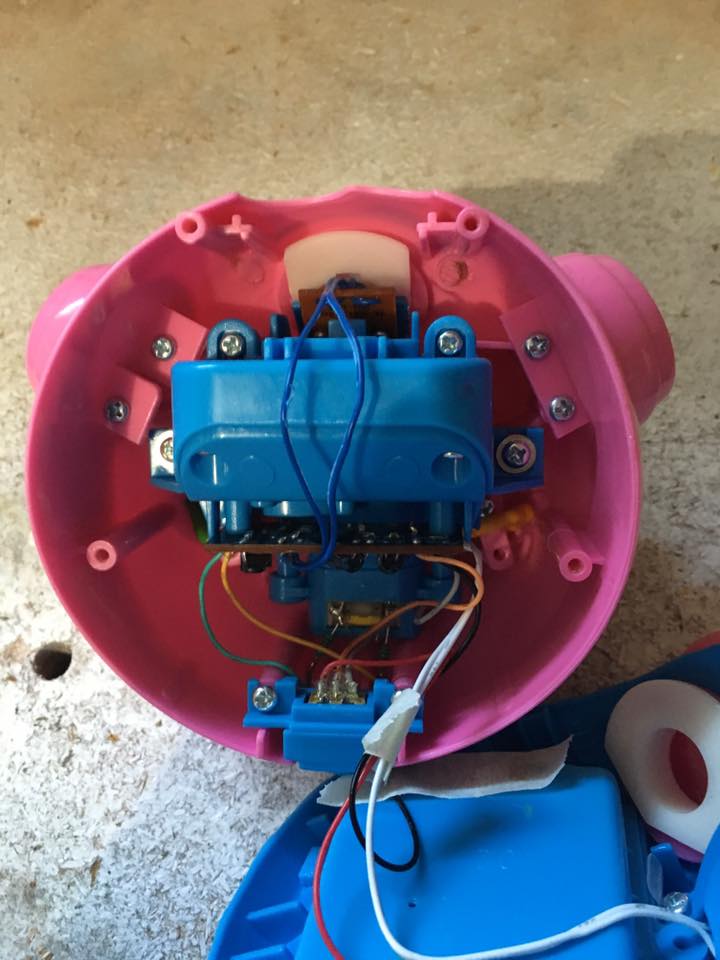
Step 4: Cut the wire’s protective coating to expose the metal wire inside. The exposed area should be about 1/2″ in length. Do this for both wires. You can use a razor blade if you don’t have wire strippers, but be careful not to cut the metal inside of the wire. (You can test that you have the proper wires by touching the wires together. The toy should activate as if you pressed the button.)
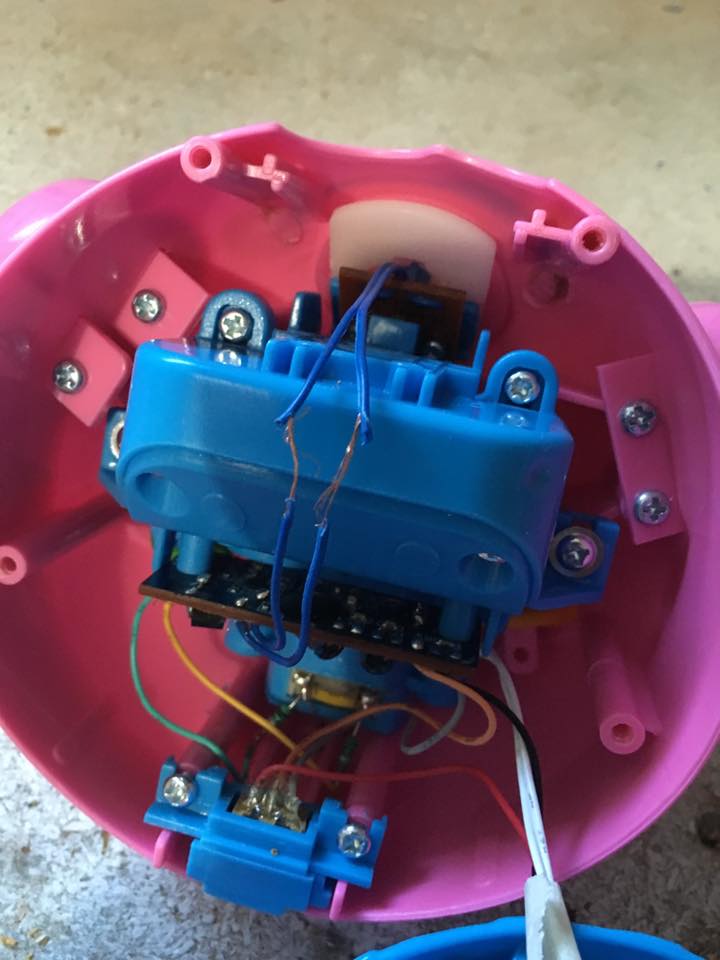
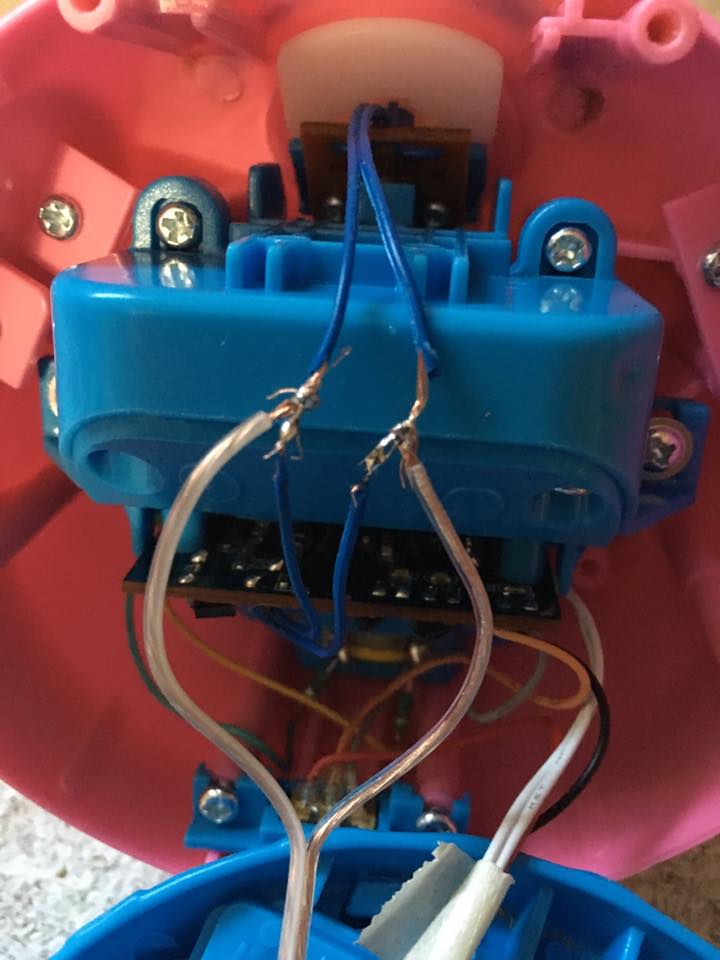
Step 5: Strip 1/2″ of the speaker wire’s protective coating on each end. Then wrap one wire around each of the toy’s existing wires.
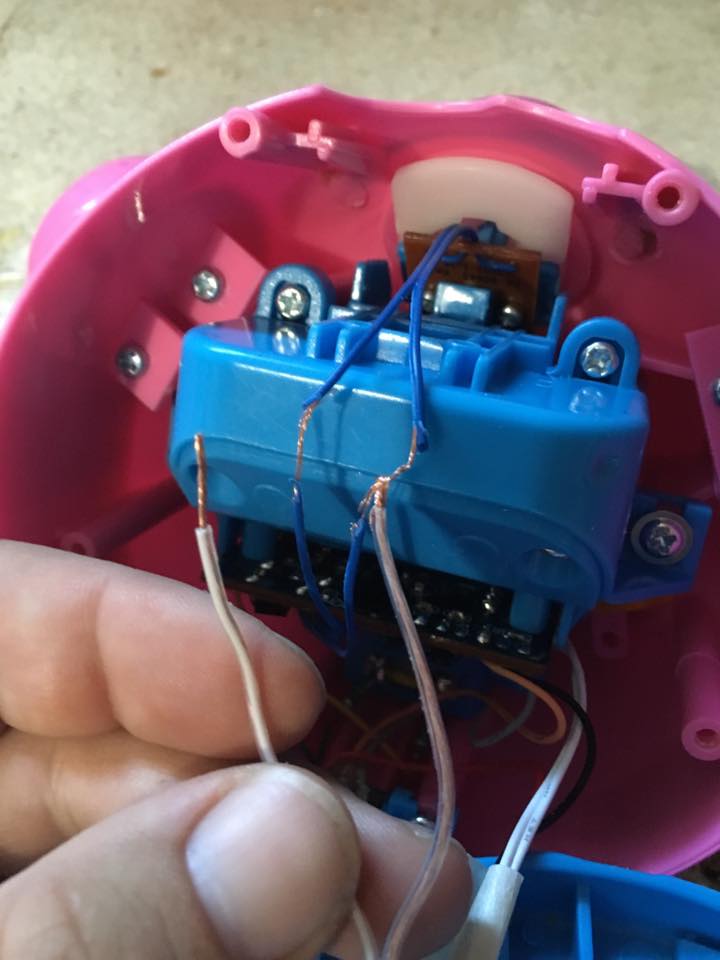

Step 6: Solder the wires together by placing a bead of solder where the wires are wrapped together. Be careful; it’s hot!
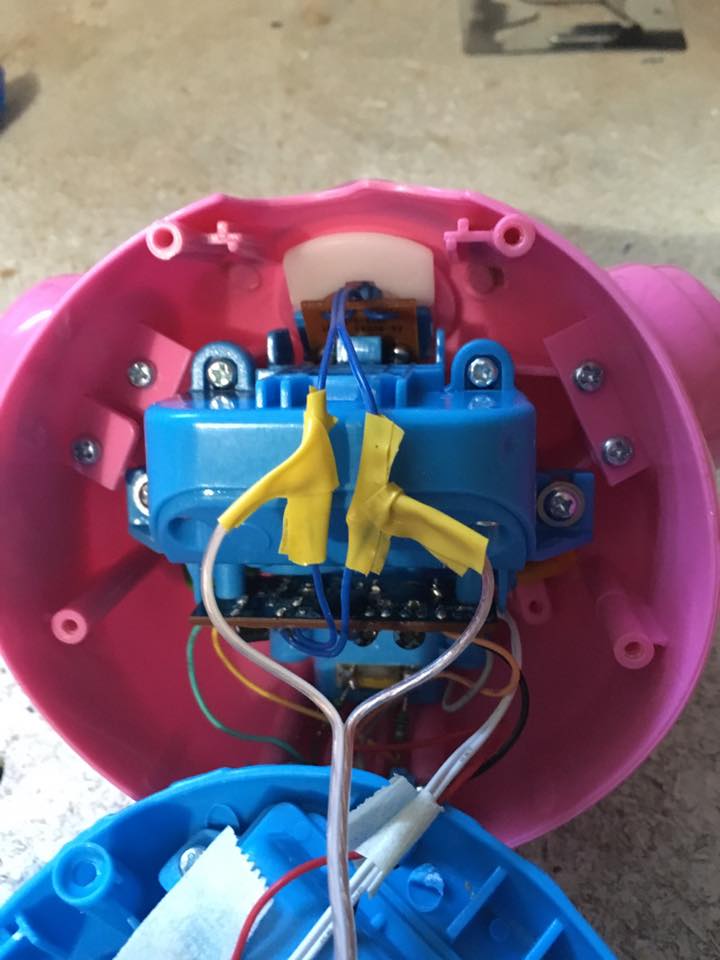
Step 7: Wrap your newly soldered wires in electrical tape. Otherwise the wires may accidentally touch each other and the toy will go off at 2 a.m. and you’ll think it’s haunted! You are now done with this end of the wire.
Step 8: Strip a 1/2″ of protective coating off the other ends of the speaker wire, exactly as you did on the first end.
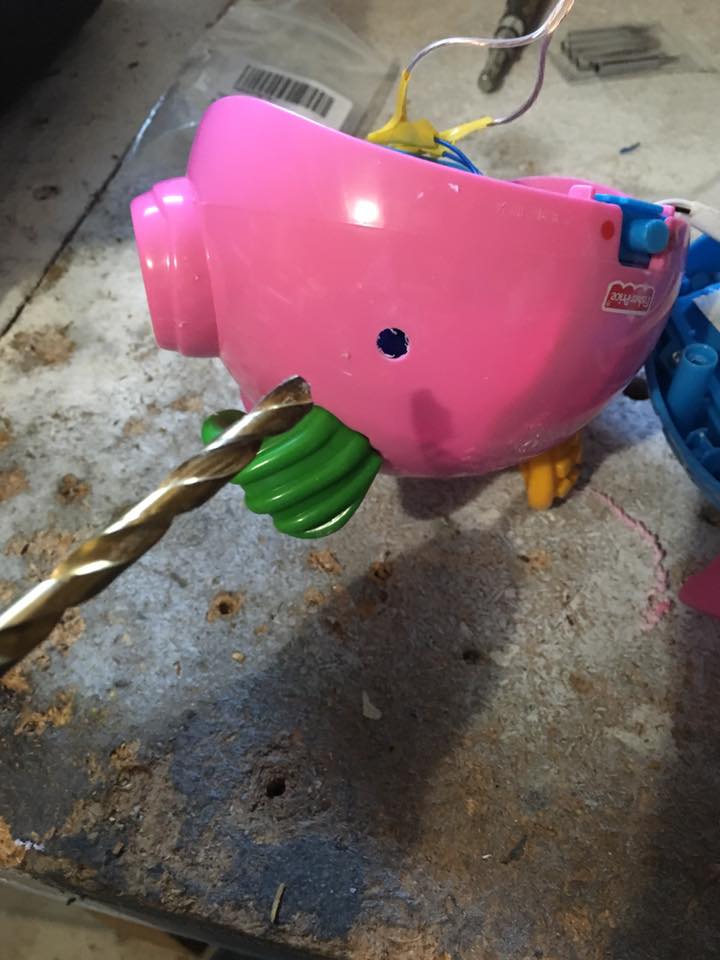
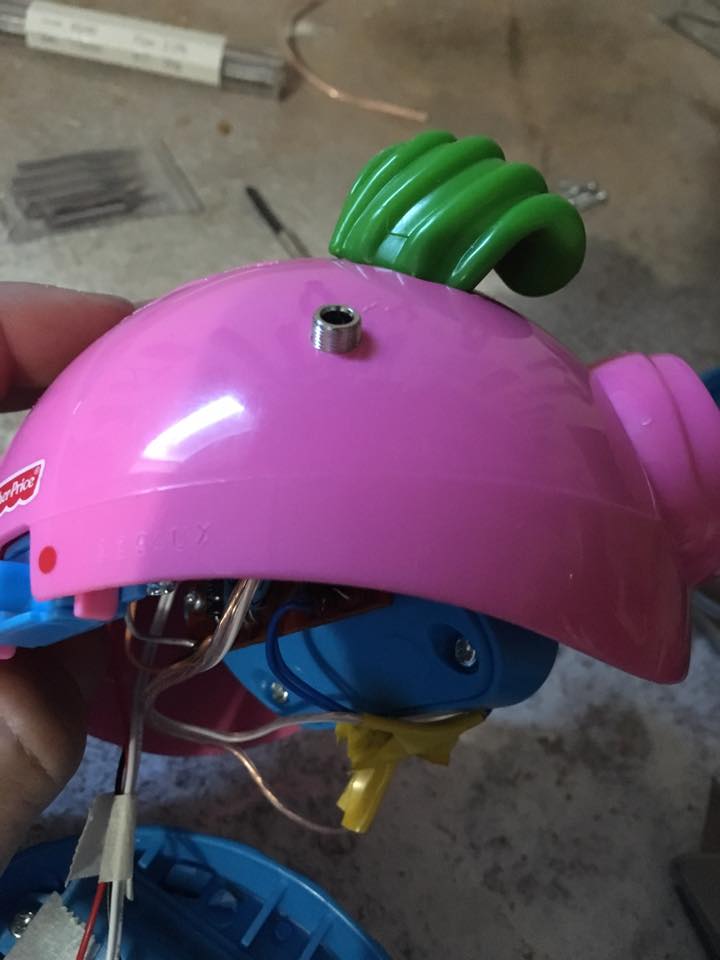
Step 9: Pick a spot on the toy to mount the audio jack. This will be where you plug the switch in. Choose a spot that doesn’t have anything behind it. You don’t want to damage anything! Drill a hole for the audio jack. My jacks required a 1/4″ hole.
Step 10: Wrap those wire ends through the holes in the prongs on the back of the audio jack. Note: This type of jack has 3 prongs, I’m only using the short two and ignoring the long one.
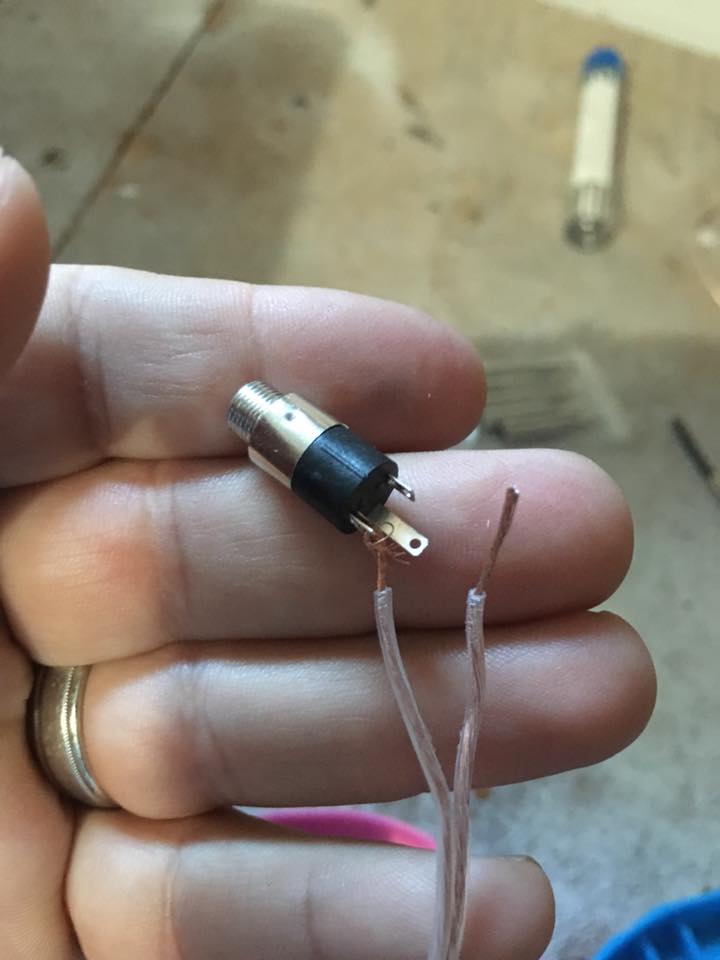
Step 11: Solder the wires to the jack by placing a bead of solder where the wires are hooked to the jack prongs. Don’t burn yourself!
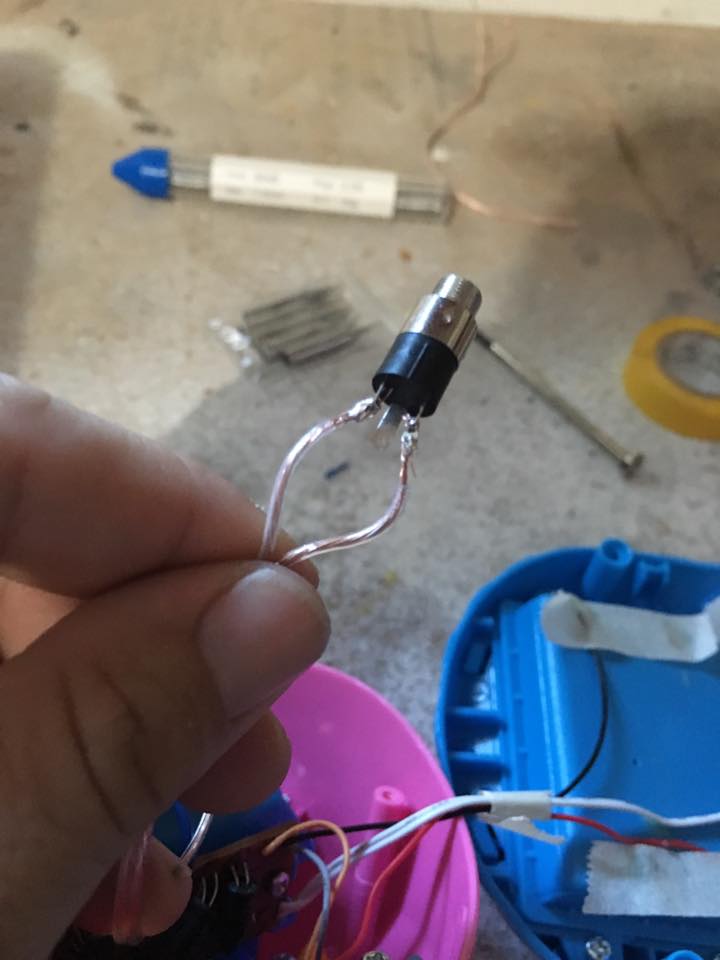
Step 12: Wrap your newly soldered joints with electrical tape.
Step 13: Push the jack through the hole you created from the inside of the toy to the outside.
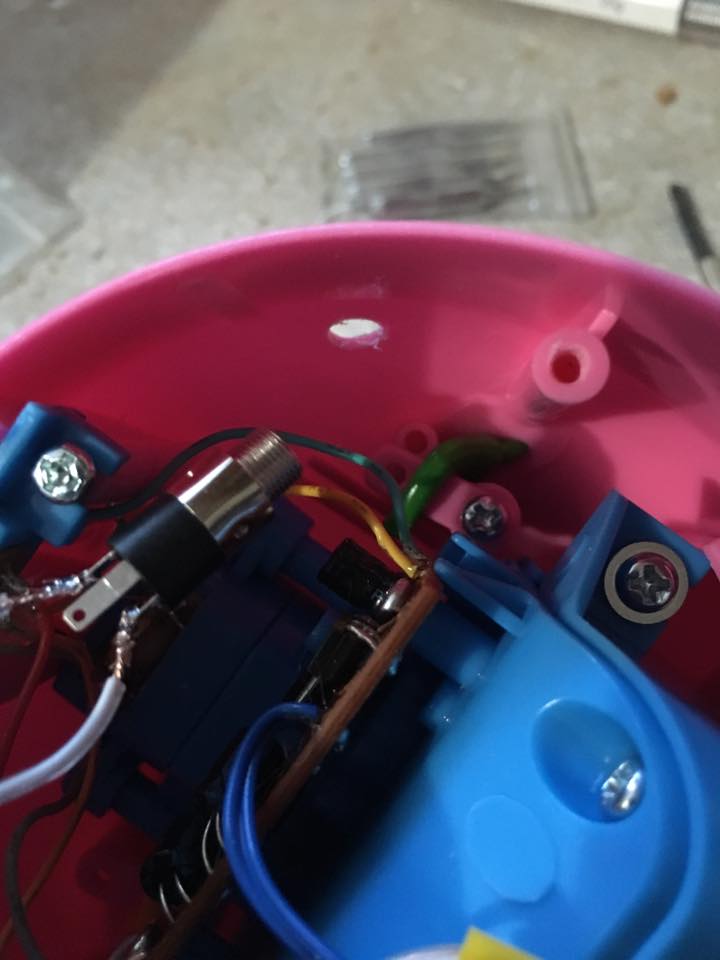
Step 14: Screw on the outside end of the jack to secure it in place. My jacks had a ring that screws on the outside.
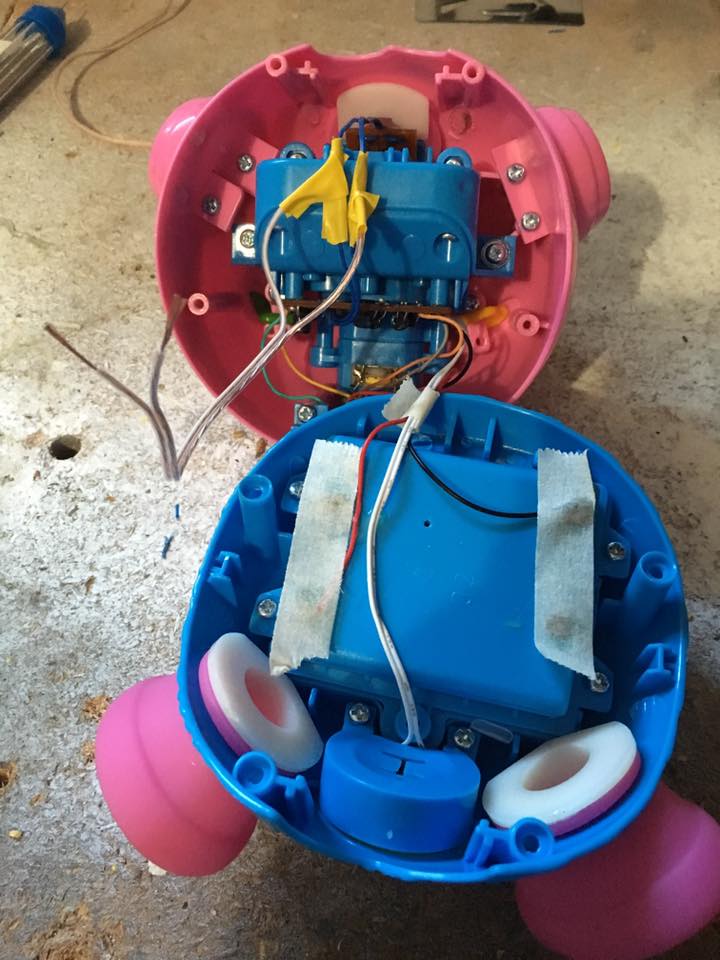
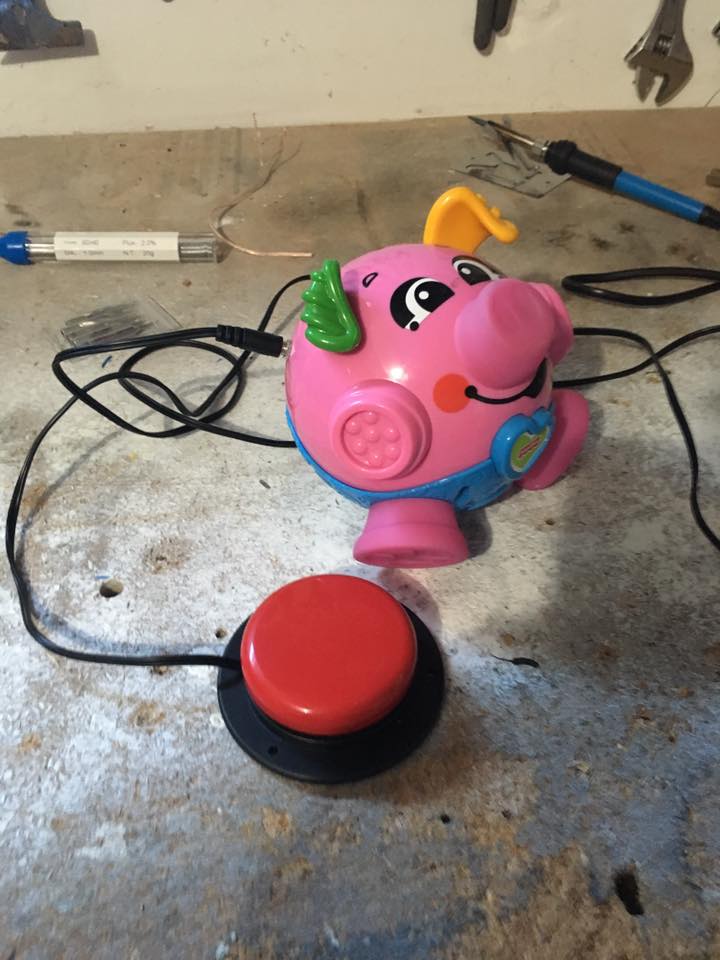
Step 15: Put the toy back together the same way you took it apart.

Step 16: You’re done! The toy can now be activated by a switch and by the nose. Enjoy!
Connect with families, read inspiring stories, and get helpful resources delivered right to your inbox.


Connect with families, read inspiring stories, and get helpful resources delivered right to your inbox.


